


You are looking at the documentation of a prior release. To read the documentation of the latest release, please
visit here.
Instant Backup & Restore
This guide covers two workflows: using the Instant Backup interface to trigger an on-demand backup immediately against an existing backup configuration, and using the Restore interface to recover data from a specific backup snapshot.
1. Getting Started
Select Instant Backup or Restore from the left sidebar under Operations.
- Instant Backup: Use this to immediately trigger a backup using an existing backup configuration and session.
- Restore: Use this to recover data from a specific backup snapshot.
2. Instant Backup
The Instant Backup form triggers an on-demand backup by selecting an existing backup configuration and one or more backup sessions.
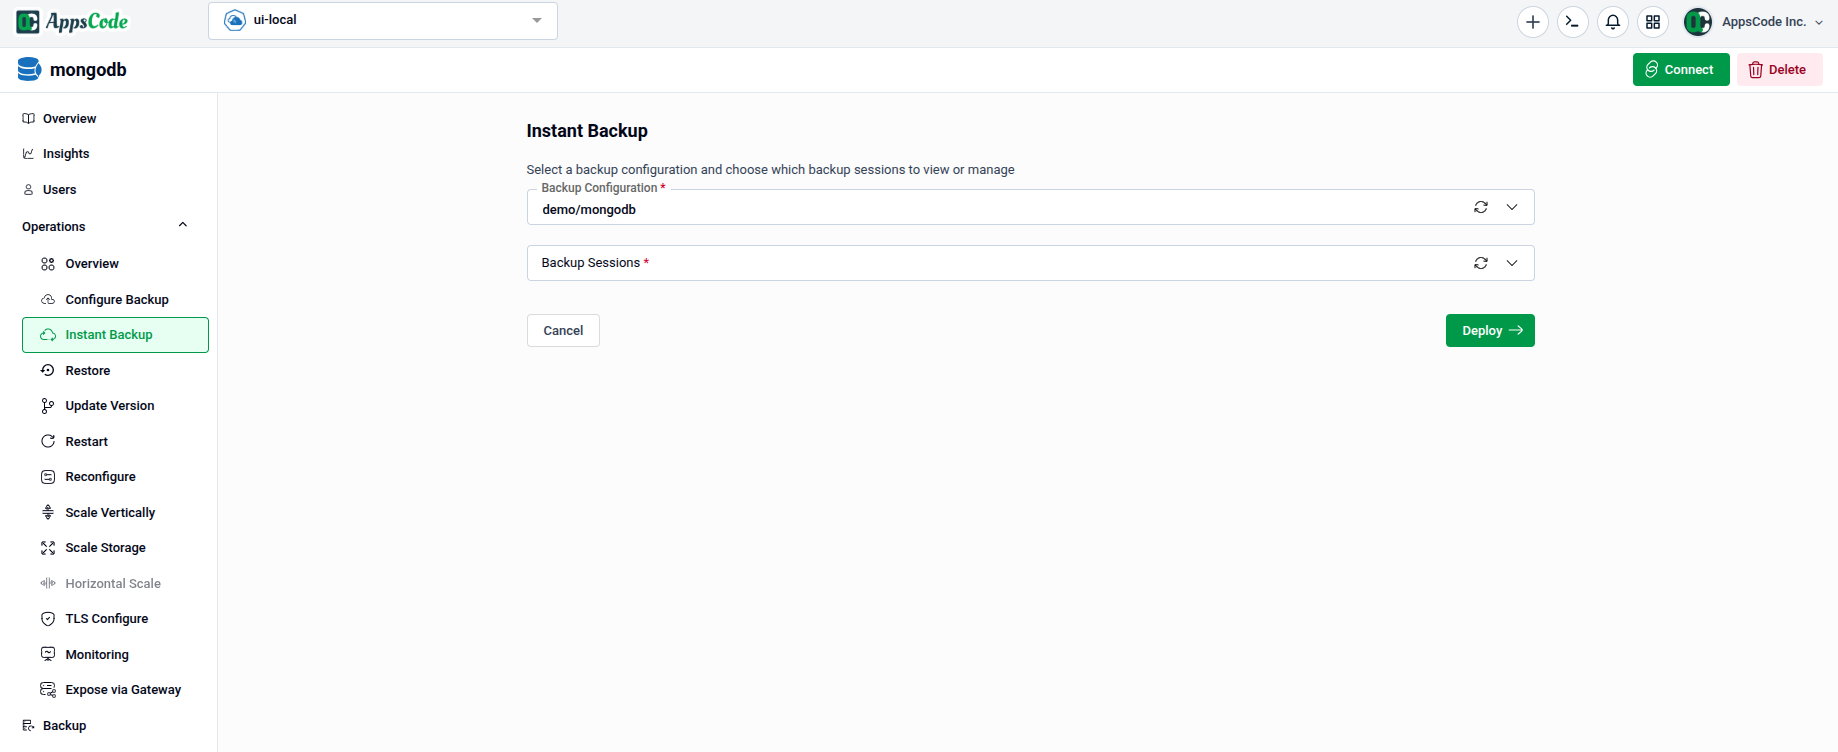
2.1 - Selecting a Backup Configuration
- Backup Configuration: Select the backup configuration that defines the storage backend and policy for this backup (e.g.,
demo/mongodb). This field is required.
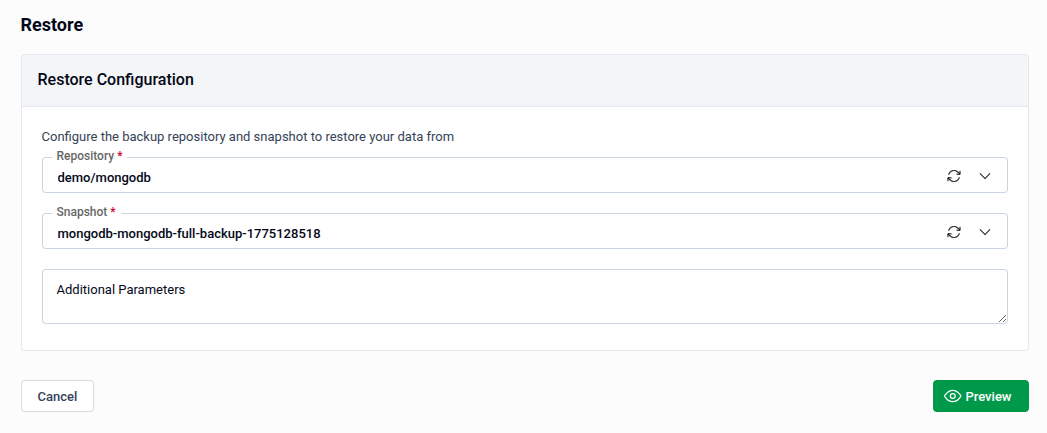
2.2 - Selecting Backup Sessions
- Backup Sessions: Select one or more backup sessions to trigger (e.g.,
full-backup). Sessions are defined within the chosen backup configuration. This field is required.
Tip: You can select multiple backup sessions from the dropdown if your configuration defines more than one session type (e.g.,
full-backup,incremental-backup).
- Deploy: Once your selections are made, click Deploy to trigger the instant backup immediately.
Warning: The backup starts as soon as you click Deploy. There is no Preview step — ensure your selections are correct before proceeding.
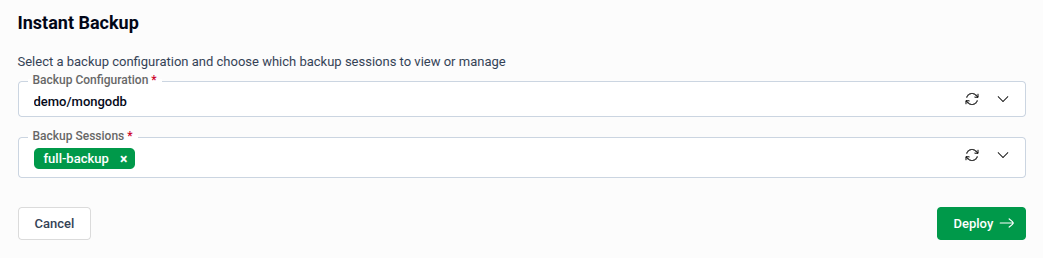
3. Configuring a Restore
The Restore Configuration form defines which data to recover and its source.
- Repository: Select the backup repository that contains your data (e.g., demo/mongodb).
- Select Snapshot: Choose the specific point-in-time backup you wish to restore.
- Additional Parameters: Provide any specific configuration flags or advanced parameters.
- Preview: Click Preview to review the restore configuration.
- Submit: Once satisfied, click Submit to begin the restore.
Note: Fields marked with a red asterisk are required. If left empty, the system will display an “Error in 1 field” warning.
Tip: On the Preview page, you can switch to YAML or JSON view to edit the configuration directly before submitting.
Quick Reference
| Action | How to do it |
|---|---|
| Trigger an instant backup | Instant Backup → select Backup Configuration → select Backup Sessions → Deploy |
| Restore from a snapshot | Restore → choose Repository and Snapshot → Preview → Submit |